Acorns Are Delicious & Nutritious!
Gather, Process, Eat... YUM!
Processing
Processing acorns is a wonderful way to get to know the nuts and appreciate the food that you are preparing. The work involved is well worth the delicious nutrition gained! Working smart will make the whole process go smoother and faster. I suggest including music, friends, conversation, singing, chanting, etc. to make your processing experience lively, creative, and fun.

Processing In A Nut Shell:
1. Dry the acorns (cut in half & dry)
2. Remove shells, seed coats, caps, etc.
3. Rehydrate & Chop halved acorns into smaller pieces
4. Rinse with cold water in bucket (Soak, Stir, Drain, & Repeat)
5. (Optional: Rinse with hot water, in pot)
6. Grind, Dry, & Store leached acorn meal
The Parts of an Acorn
Parts of an Acorn:
A.) Cap B.) Shell C.) Seed Coat (testa) D.) Nut Meat (Cotyledons) E.) Plumule F.) Radicle G.) Remains of style. (Together D., E., and F. make up the embryo.)
Drying and Shelling
**WARNING! All parts of each acorn have wet water within, so if they are left sitting in a bucket or box after harvesting, you will have an excellent breeding ground for mold. In my experimentation, I have found that partially drying them immediately after collection is an excellent way to avoid mold, AND, it has the added benefit of shrinking the cotyledons, which makes shelling much easier- almost effortless.
The drying method I use starts with cutting each acorn in half, using a hand-pruner. They will dry out a lot faster when bisected, as shown in the picture below:
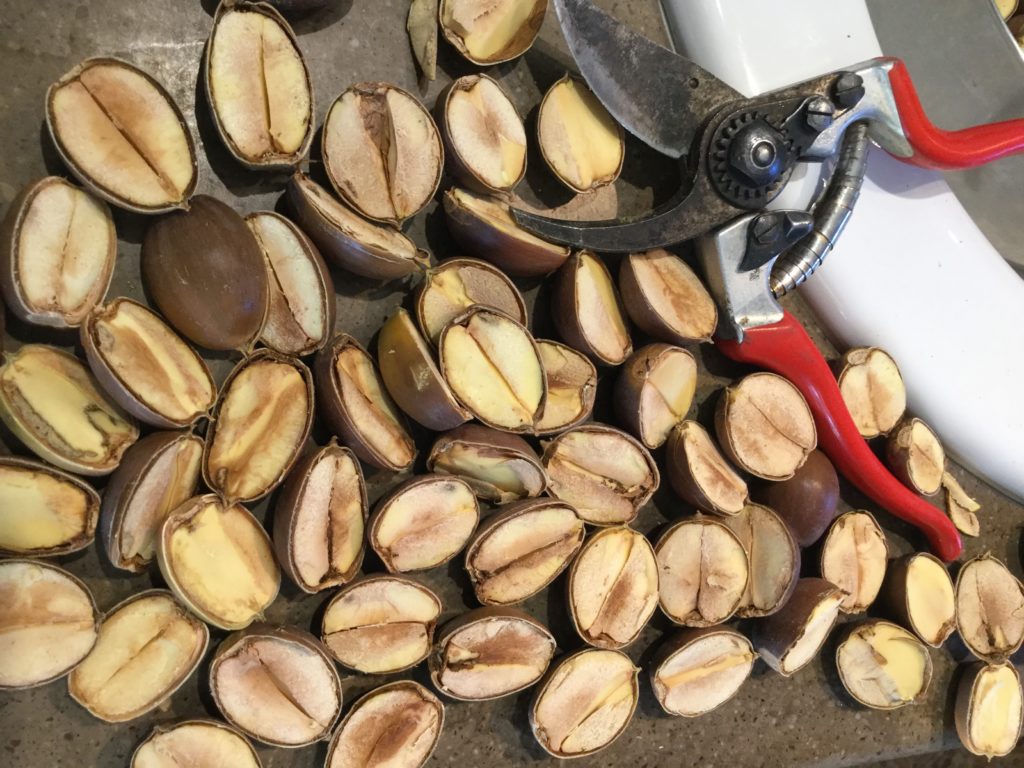
**BE CAREFUL! Slicing each nut individually, using “Hand Pruners” is my favorite way to start the drying process, but this method can be dangerous, with fingers working so close to the sharp pruner blade. It’s easy to do, however and if you pay attention, you will not cut yourself very many times. Take it slow…
My favorite way to dry the nuts is to use a solar food dehydrator to bring their moisture level down considerably. If you don’t have a solar food dehydrator, you could make one yourself, or use an electric food dehydrator or your oven.
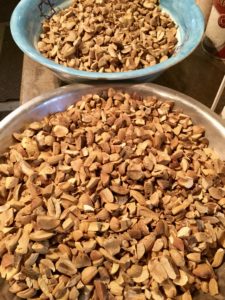
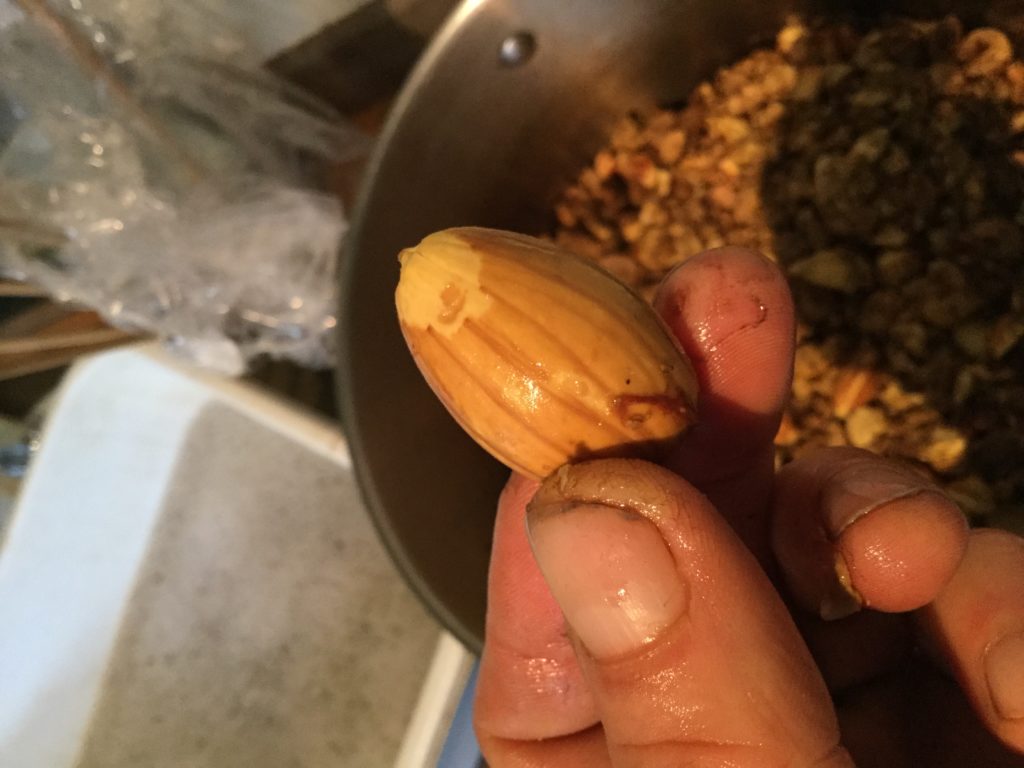
**Great Trick: Partially drying the acorns causes the nut meat (cotyledons) to shrink inside the shells, which makes the shell and seed coat removal much easier! (see space left between dried nut and shell, below)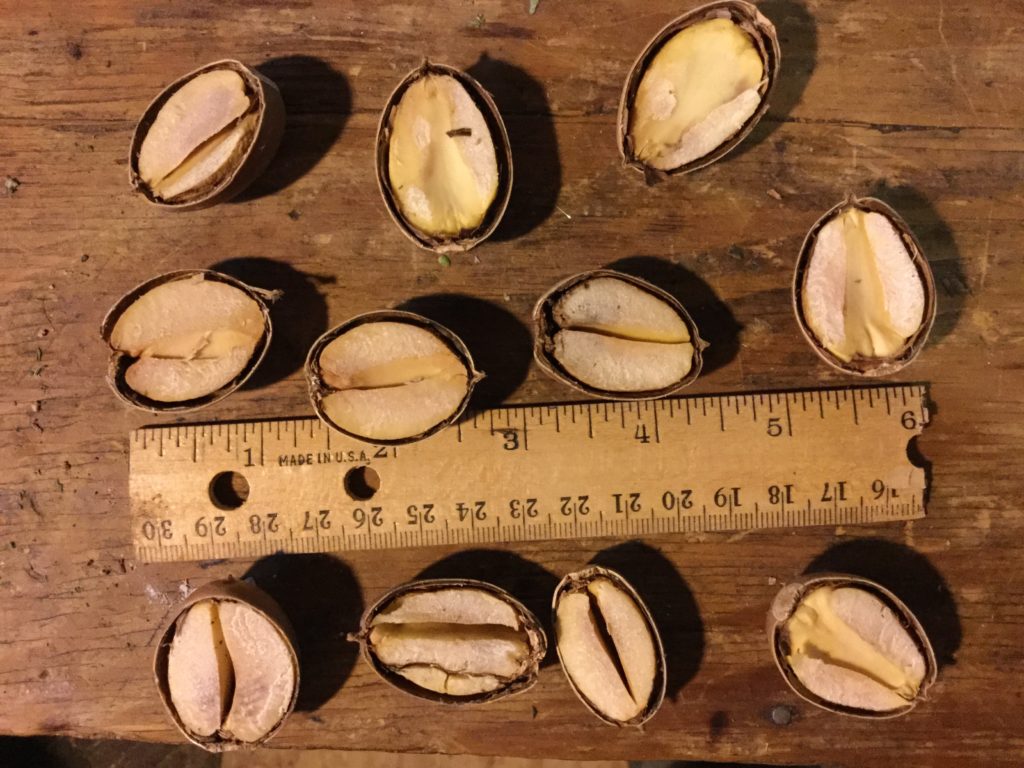
These are the prime perfect acorn specimens (from Oregon White Oak, Quercus garryana, in Shasta County, California, USA). They have been sliced in half, dried, and then the shells will often just fall off by themselves.
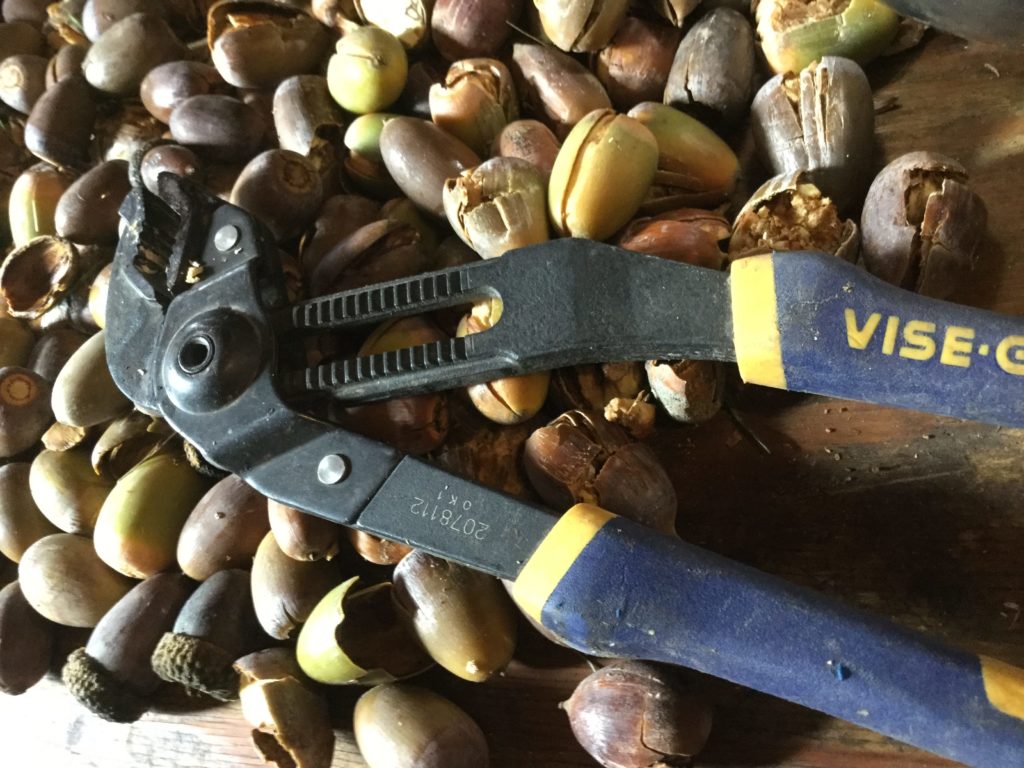
If you do not have a hand pruner and/or a food dehydrator, there are countless other ways to crack your acorns open for shell removal. One way I used before discovering the hand-pruner method way is to use a “channel-lock” type of pliers, which are made in several sizes and styles. The kind with a more narrow width of the pliers jaws and teeth is better for cracking the acorns open (ideally into two halves without too much crushed mess). Tip: If you are doing a large batch, try switching hands with your cracking tool to avoid repetitive motion hand and wrist impacts.
Removing Shells
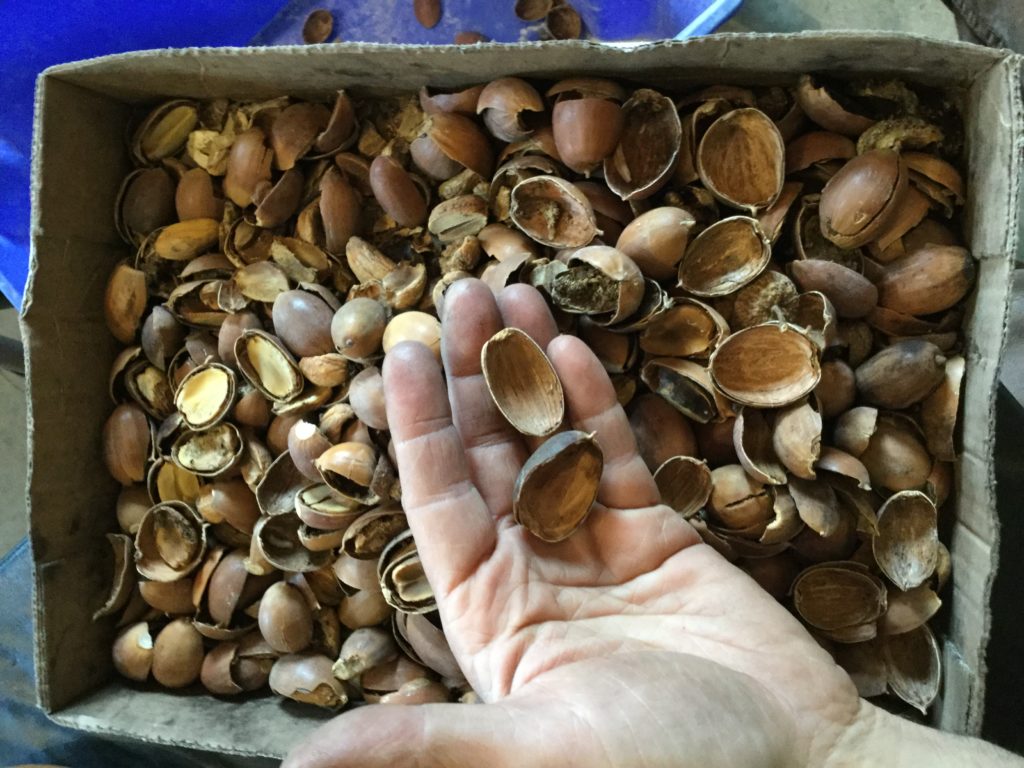
For shelling, I work with one small box of acorns at a time (usually while chatting with friends or listening to some entertaining or educational audio). **If you have followed the method explained above (slicing in half and then drying out your acorns), you will find that most of the work of removing the shells has been done for you! Most of the nut meat parts of the sliced and dried acorns will easily fall out just by shaking and stirring the box! Remove the loose shells from the box and toss them into a compost bucket. More will fall out by themselves each time you stir them, as shown in this picture:
Tip: As you remove the nut meat from the shells, separate as much of the shell particles and the inner skin layer (the seed coat, or testa) from the nut meats as you can.*
When all of the loose fallen off shells have been removed, you will need a tool to pop out the more stubborn nuts. A bamboo skewer, a nut pick, or a knitting needle works great! When all the shells have been removed, the rinsing step can be done at your convenience (because the nuts are dry enough to be stored without molding).
Click Here for a Video of our 2020 Acorn Harvest Halved, Dried, and Shelled
Rinsing out the Tannic Acid…
Then next step is to repeatedly rinse the acorn nuts, to remove the Tannic Acid (also known as “Tannins”). Fortunately, the Tannins are highly water-soluble, so the process is relatively simple: In a 3-gallon bucket: (Soak, Stir, Drain, Repeat) *The tannic acid content of acorns will vary by the different acorn/oak species and even different years, so there is no standard time or amount of rinsing… You just have to keep soaking and rinsing until most or all of the tannins are washed away.
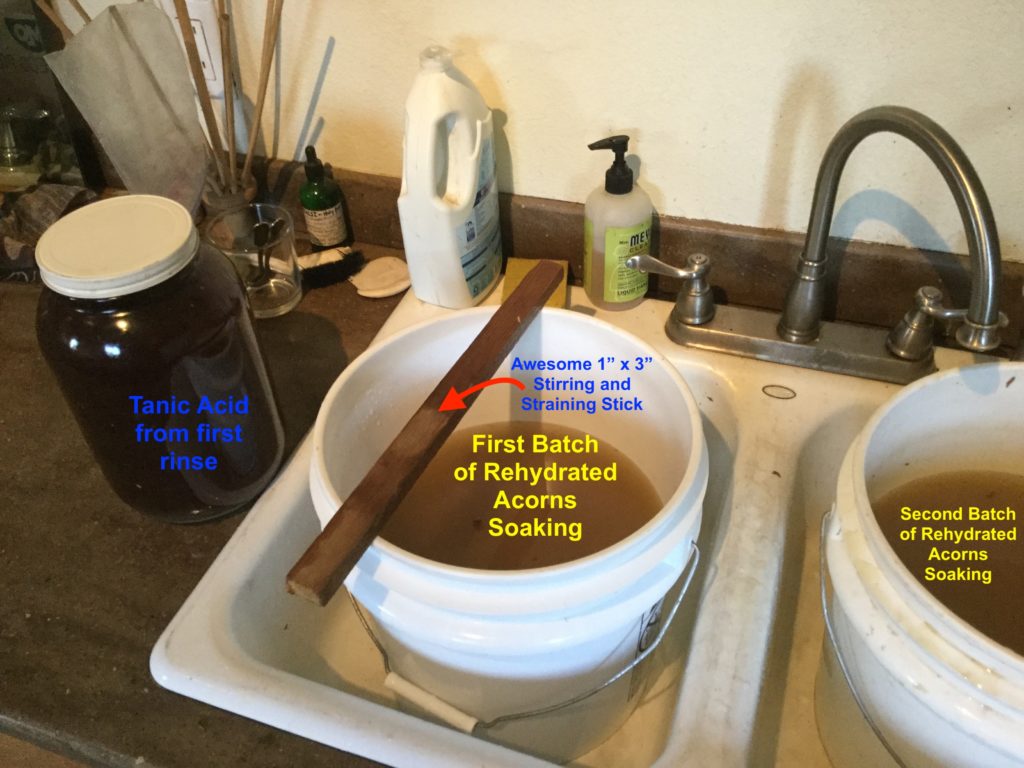
If you have dehydrated your acorns, soak the dry nuts for several hours or overnight (to rehydrate them), stirring them once in a while. (*I like using three-gallon buckets half-full of dried acorn pieces for this process, when rehydrated, the acorns will fill 2/3 of the bucket) Soaking and stirring repeatedly will rehydrate the cotyledons, and get the tannins flowing out of the nut meat.
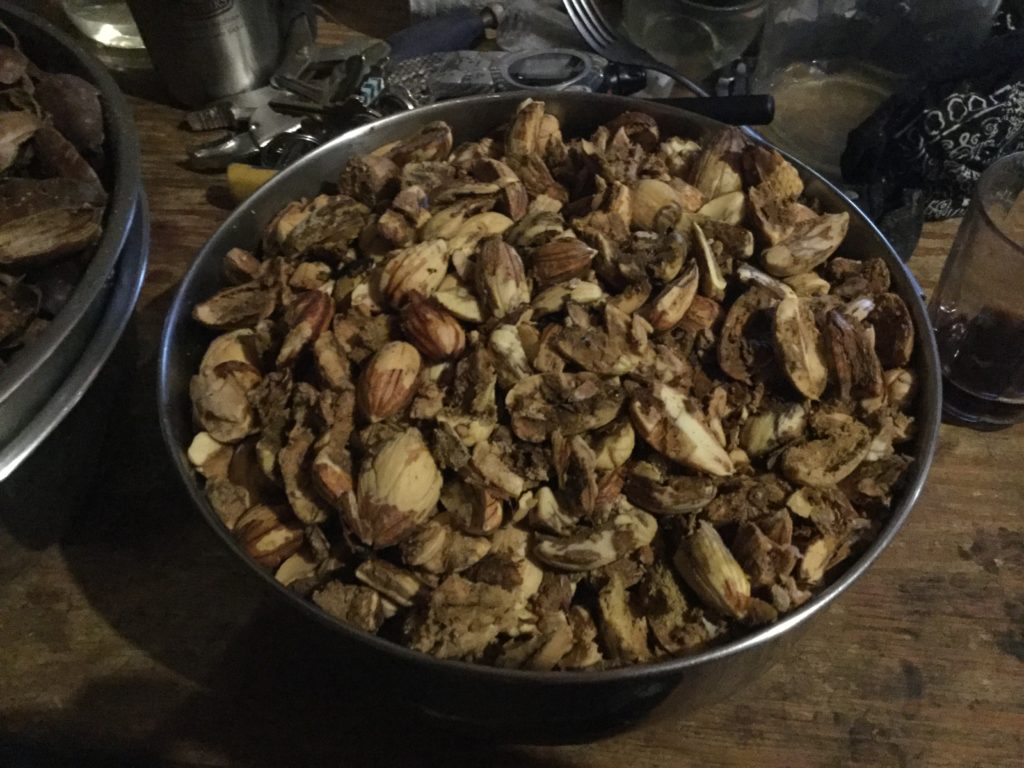
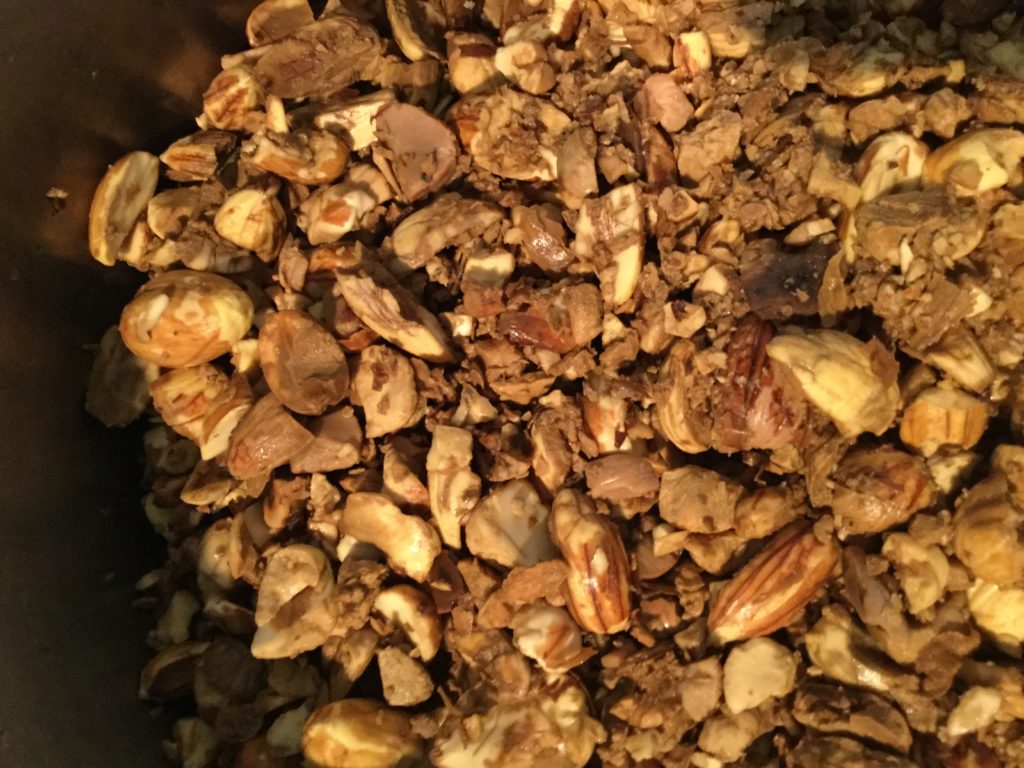
**Helpful Tips for Speeding Up the Rinsing: After the acorns are initially rehydrated (therefore softer), chop the acorn halves into smaller pieces (with a chopper knife and cutting board), to allow more surface area, which speeds up the rinsing (also known as “leaching”) process. If want to the rinse to go even faster (and/or if you need to conserve water) you can put the acorns into a blender or food processor and make them into a finer meal or powder (this method is not explained on this web site, but can be found described on numerous other sites). *I prefer the larger chunks (easier to handle and less gets lost) because we have plenty of water where I live, and I have plenty of time for rinsing during the winter months.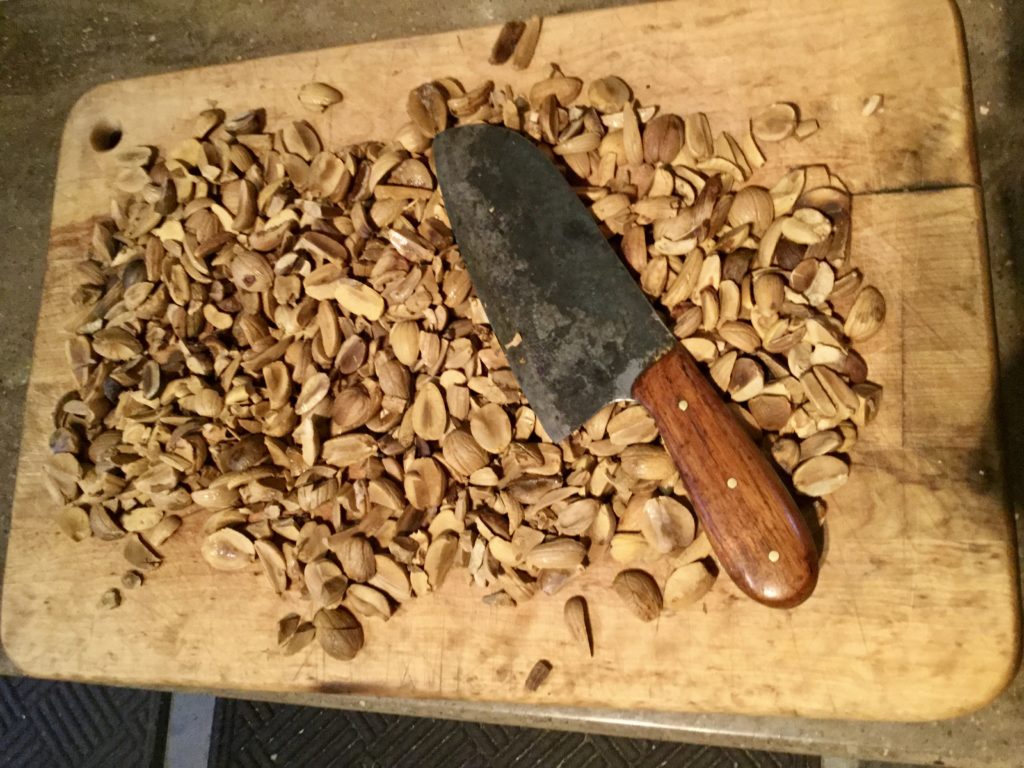
 Soak, stir, & drain the acorn pieces over & over, until the soaking water runs almost clear (for the initial rinses, the water will be dark brown, and can be saved for other uses). Allow plenty of soaking time in between rinses: Just leave the acorns soaking/submerged (& repeatedly stir them vigorously) for an hour or several hours after/before each rinse. *Remember to keep tasting the nuts, and keep repeating this mantra: “soak, stir, drain/rinse, taste”, until the acorn meat no longer tastes bitter.
 Simple: Keep tasting the acorns as you soak, stir, and rinse, to monitor the declining tannin content. With smaller pieces, the leaching process will go faster, but it adds the challenge of how to avoid losing small nut pieces, when pouring off the water and tannins at each rinse.
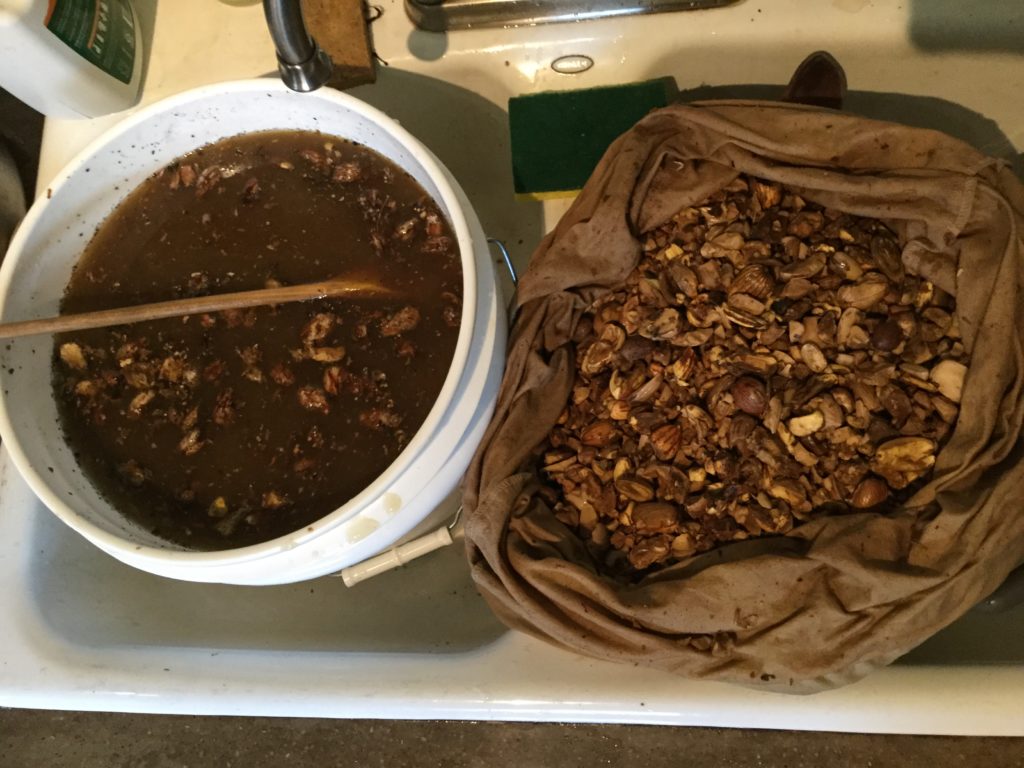
*Tip: When I have a higher amount of smaller nut pieces, I have used old flannel pillow cases to filter the water during the nut rinse, which works especially well with more finely chopped or crushed nut pieces. The pillow case acts as a holding bag and a filter, which is easy to maneuver, and minimizes loss of smaller nut meat particles, as shown below:
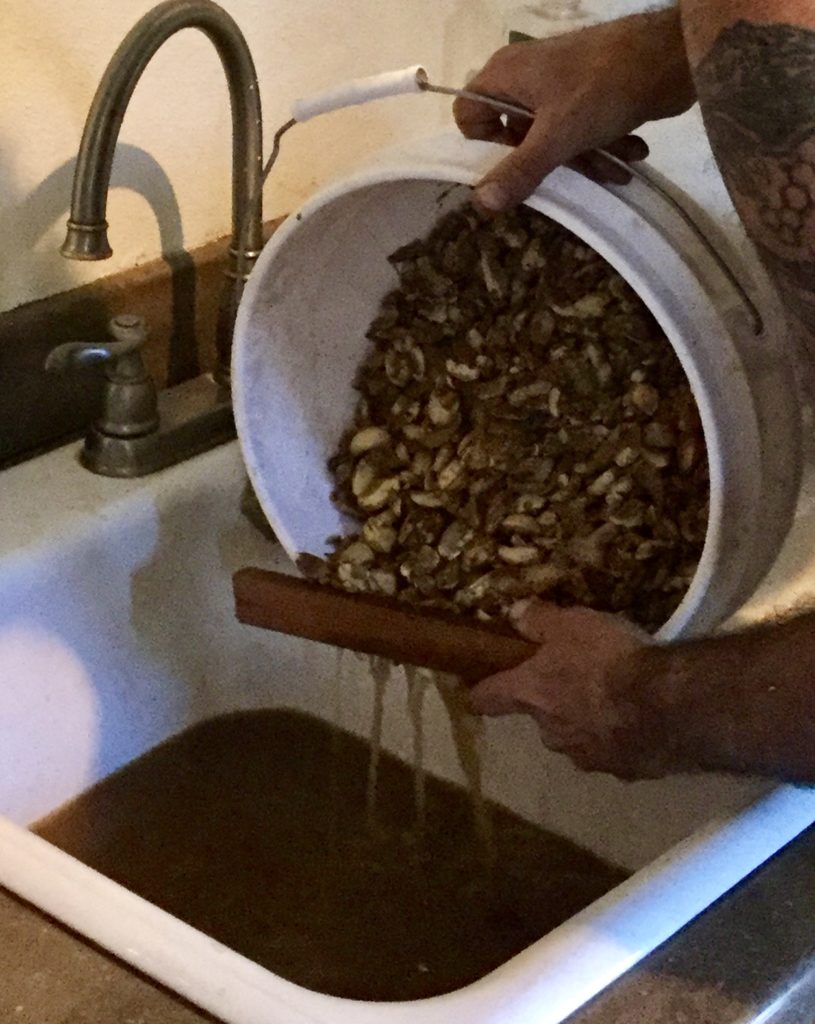
Simply repeatedly stirring the rinse water and pouring off the top water (which includes the floating particulates and most of the Tannins) will remove most of the unwanted components. Do this over and over: rinse, soak, stir, pour off, repeat…
 You can continue the COLD rinse process until leaching is complete, OR, You can use a hot rinse (after several cold rinses). Using the cold rinse process uses less energy, and is also said to preserve the natural (but gluten-free) binding qualities (bakers usually depend on gluten or Xanthan gum as a binder, to hold baked flour together). *I suggest keeping your acorns for storage “raw” (uncooked), by using lower temperature drying and rinsing.
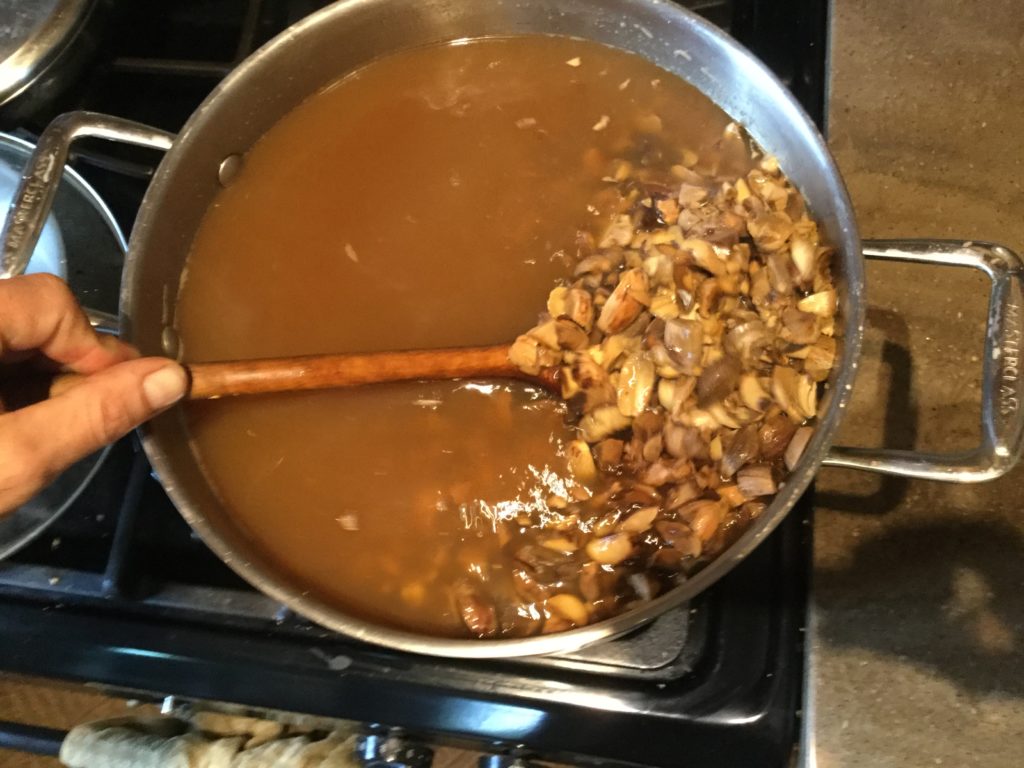 If you choose to use a hot water leaching. Heat up the acorns (in water) in a large pot, stir frequently, pour off dark water and debris, repeat. (*Remember that, at higher temperatures, such as actually boiling the acorns, you will be cooking the nuts, and they will no longer be “raw food”). You might need to do several warm or hot rinses, but once or twice should be enough, if you did several initial cold rinse cycles effectively. Keep tasting the acorns to see if they are still slightly bitter, or not. Monitor the water darkness and the taste of the nuts as you continue to rinse the tannins out. When the nuts no longer taste bitter, you are done leaching (the rinse water will be clear to light brown).
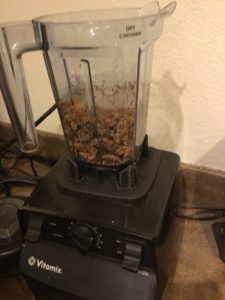
When the acorn rinse water is running almost clear, and the nuts no longer taste bitter, let them dry out for a while (food dehydrator or heat can be used to speed up the process), and put small amounts at a time into a food processor (I use the Vita-Mix with dry container), and grind them down into a crumbly “meal”, or grind even finer into acorn flour.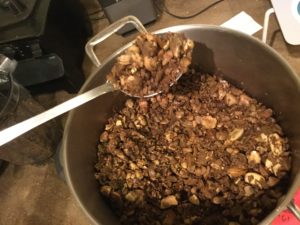
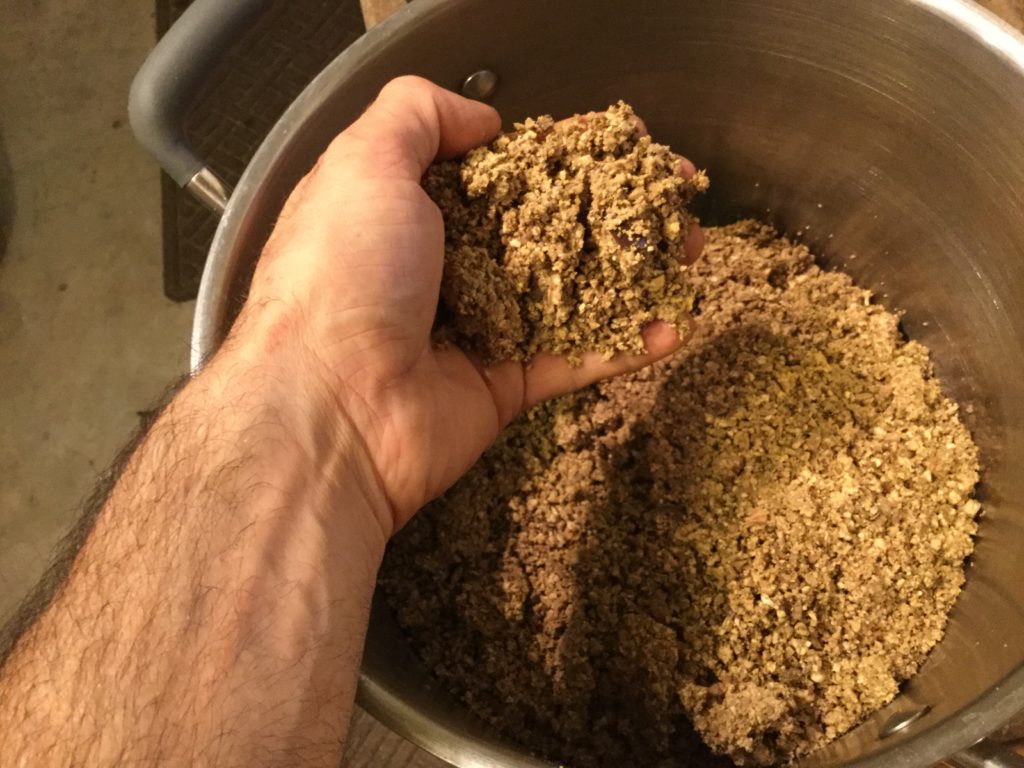
The fully rinsed and ground wet acorn nut meat is ready for use or for dehydration for later use!
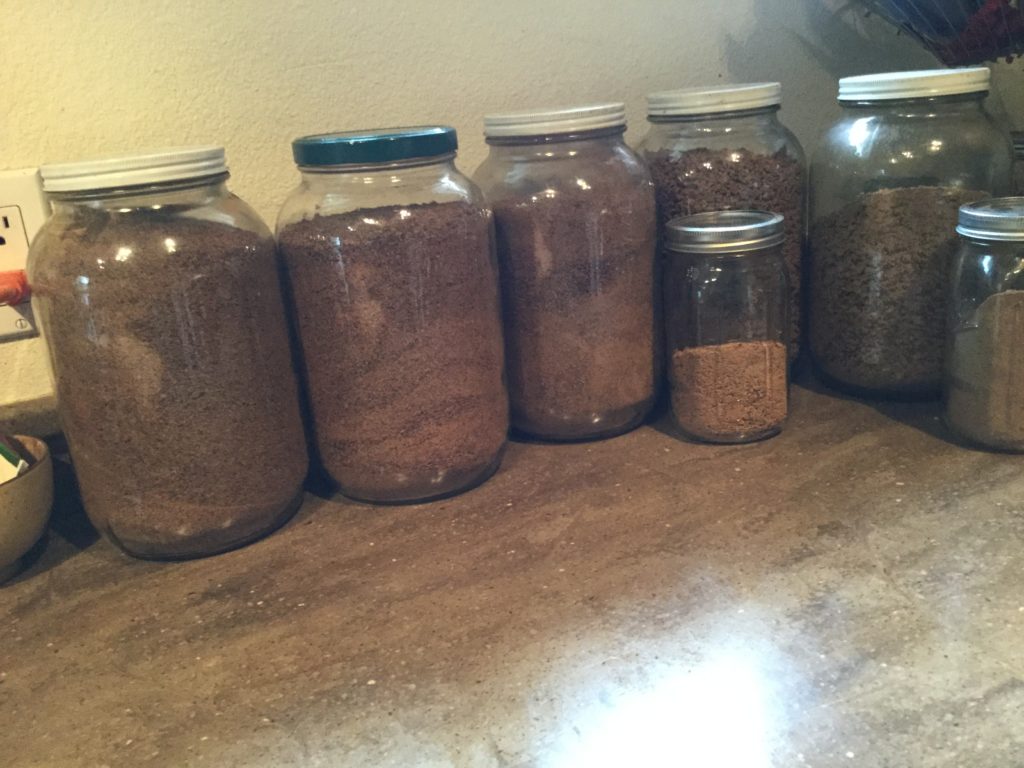
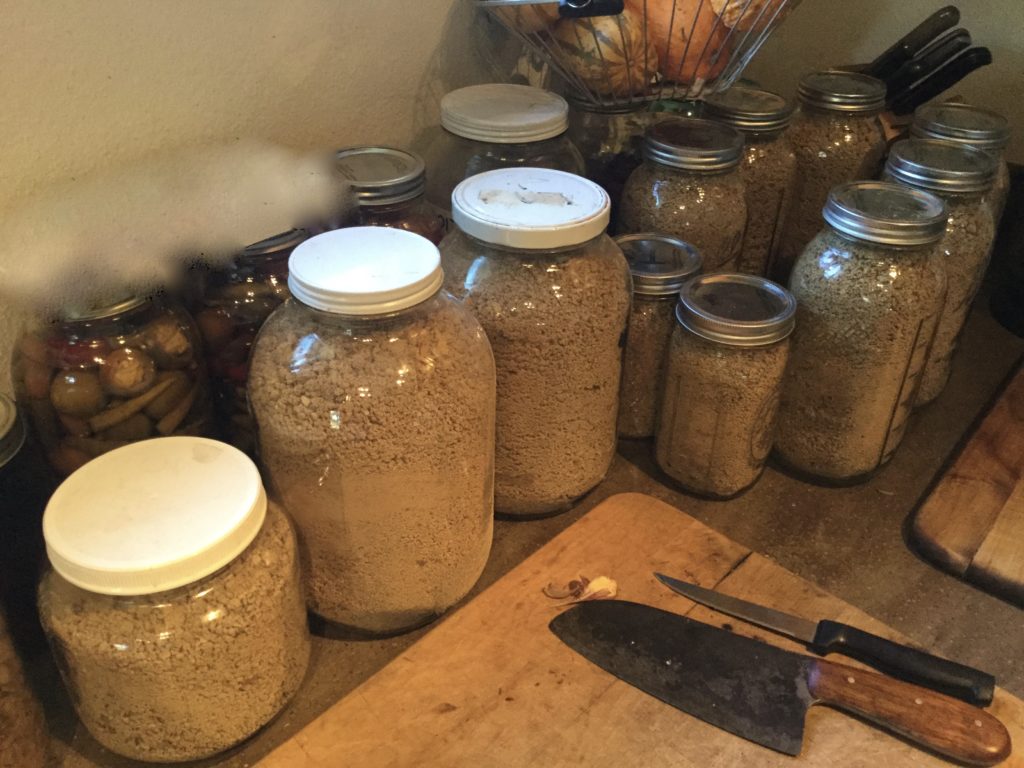
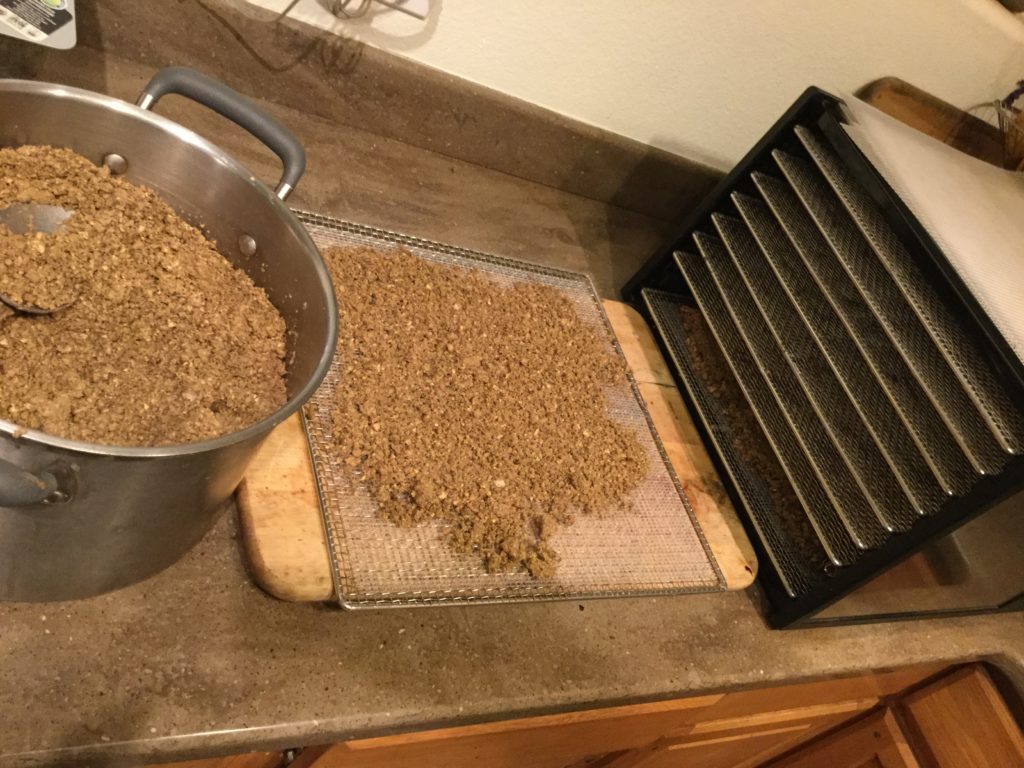
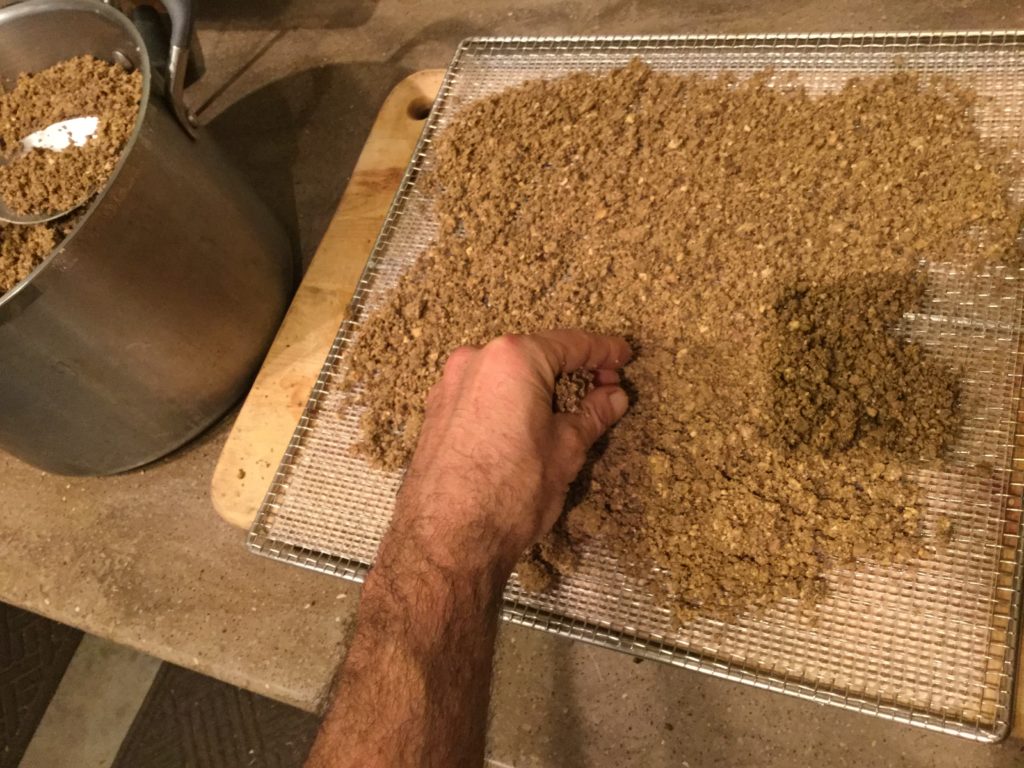
I use an Excalibur food dehydrator to fully dry the acorn nut meat crumbles (*or you can dry the nut pieces and then grind them up, OR just store some dried whole, without grinding) , so I can simply store the delicious and versatile dried Acorn meal or flour food in jars, and use it throughout the year in many varied recipes- The sky is the limit!
THANK YOU, Amazing Oak Trees!!
We love you, and the acorns you so generously provide.